How to Edit Shape Texture Again Illustrator
How to Add Texture to Illustrator Artwork
Illustrator is great for creating clean and precise vector artwork. To give your illustrations a unique and more than stylized look, you can add texture to strokes and fills, as an overlay, or with a mask. Here are the methods you tin utilise to texturize your artwork.
The Starting Point
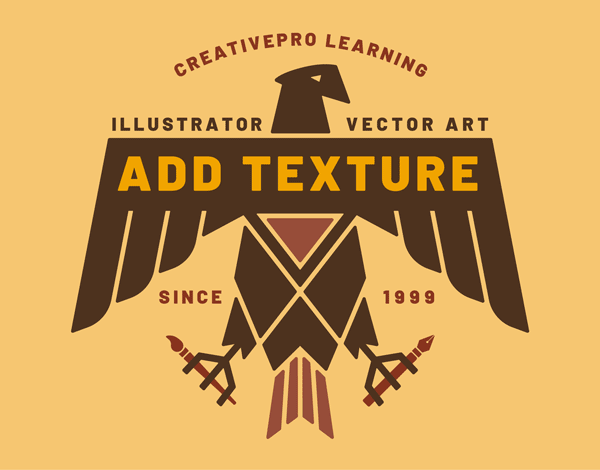
Yous've created an illustration for your favorite client. You tin can use it for signage, T-shirts, and promotional items. The art is almost fix to get, only you can make it stand out even more past adding texture.
Method ane: Illustrator's Texture Effects
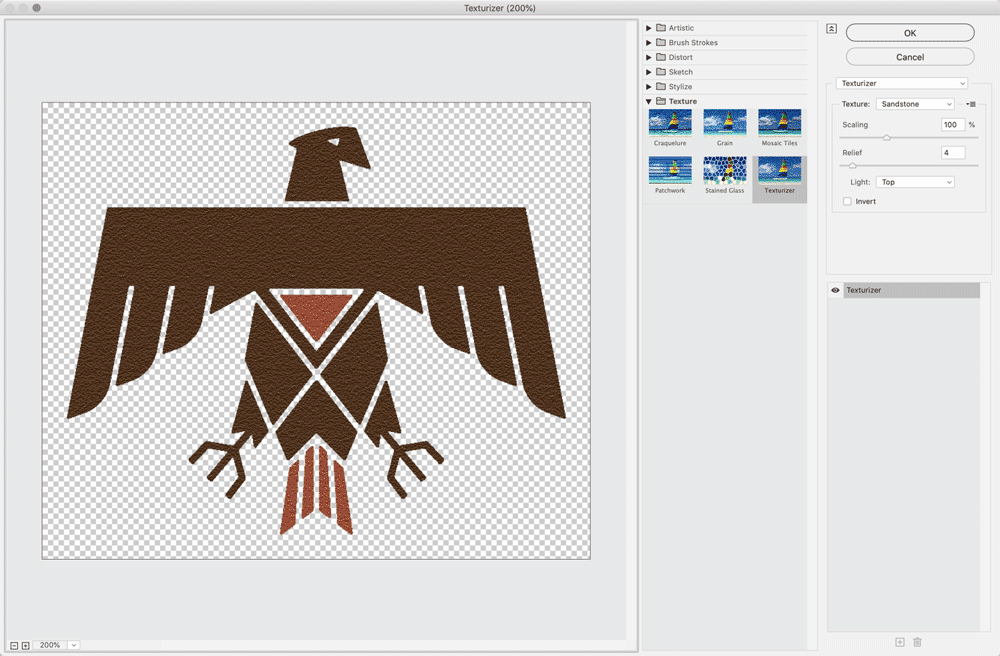
A skillful place to start is with Illustrator's Texturizer upshot. Select elements of the artwork to stylize and choose Furnishings > Texture > Texturizer.
Texturizer has iv styles you lot tin choose from the Texture drop-down menu. You tin also endeavor the other five textures in this group of effects. Adjust texture parameters with the controls on the correct. The texture will apply to both strokes and fills of your selected artwork.
More after the jump! Go along reading beneath ↓
Gratuitous and Premium members run across fewer ads! Sign upward and log-in today.
Go out the artwork selected afterwards applying the texture. Select Multiply from the Blend Mode dropdown menu in the Transparency console to make it interact with the groundwork. If the upshot is too lite, cull Edit > Copy and then Edit > Paste in Back.
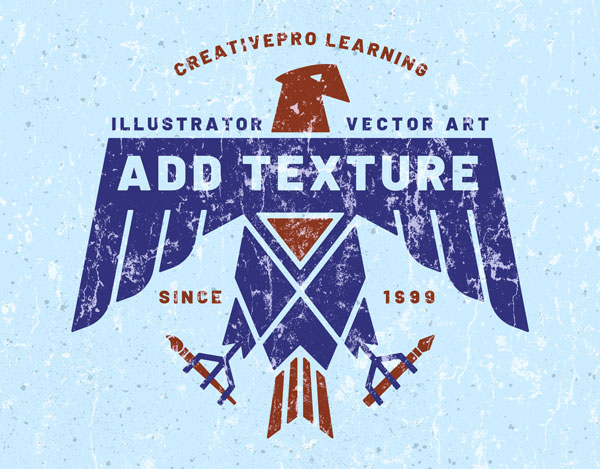
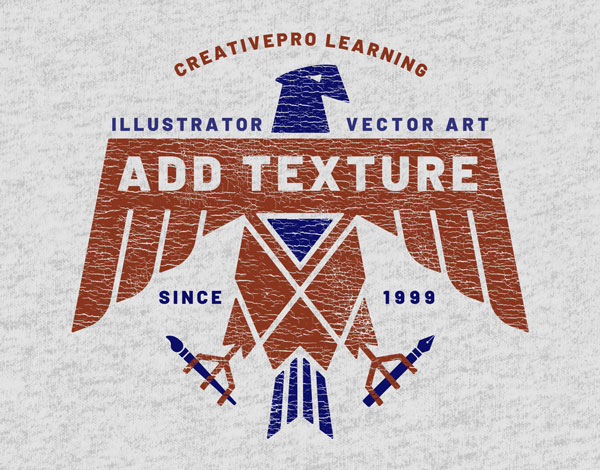
The last result uses Grain on the bird layers and Texturizer's Canvas selection on the background layer:

Method 2: Overlaying Bitmap Images
For a more dramatic look that works well on posters and wall art, you tin overlay a bitmap texture on your artwork. Bitmaps are blackness-and-white raster images that y'all can find from various sources or create yourself with Photoshop. Bitmaps files in TIFF format work all-time in Illustrator, equally you can apply colors and blend modes, or employ them equally a mask.
Finding Bitmapped Textures
Two great resources for bitmapped textures aimed at Illustrator users are The Vector Lab'southward T-shirt design bundles, and exercise files from Von Glitschka's Drawing Vector Graphics Laboratory courses. You can too find images of textures on Adobe Stock.
Converting Textures to Bitmap TIFFs in Photoshop
Stock images and those you lot photograph yourself will need to be converted to the proper format for utilize in Illustrator. Open an image file in Photoshop. Cull Image > Way > Grayscale. Then choose Image > Way > Bitmap. You lot can experiment with the different bitmap conversion methods. Optionally, you tin can adjust the levels and curves of the grayscale image before changing it to a Bitmap. Finally, choose File > Save Equally and select TIFF from the dropdown menu. Save with the default options.
Overlaying the Bitmapped Texture in Illustrator
Offset past creating a new layer. Click the Plus icon in the Layers panel, and a new empty layer will announced at the summit of the panel. Now choose File > Place and import your bitmapped TIFF file. In the Colors panel, you can assign a fill up to the bitmap, then experiment with the Blending Fashion options in the Transparency Panel to get the look you lot desire. You tin overlay additional textures to add even more character.
Using the Texture with an Opacity Mask
You lot tin use a bitmapped texture as a mask to hide or show what's beneath the artwork. Illustrator treats black pixels in the image as opaque, and white pixels as transparent. This works especially well for apparel and merchandise printed with solid inks where the item color has to bear witness through the design.
Select the placed bitmap image and the artwork you wish to texturize. In the Transparency panel, click Make Mask. If necessary, turn off the Clip selection. Here'south a detail of artwork masked with a Plastisol texture. Y'all tin can see the transparency grid beneath the artwork.

Method 3: Using Texturino
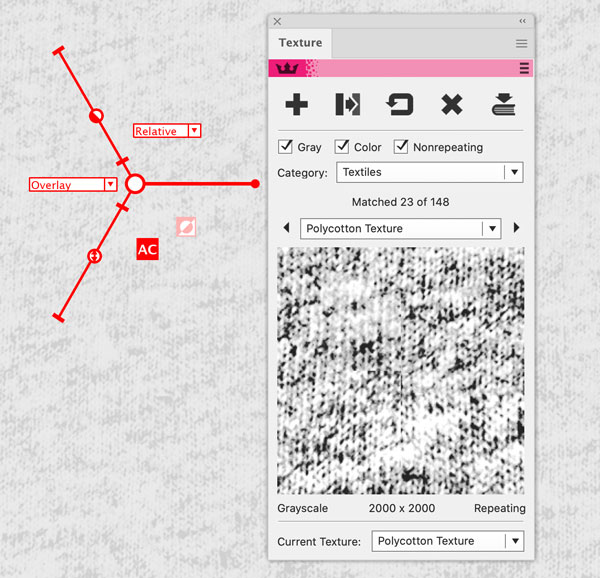
Texturino from Astute Graphics is a purpose-congenital plug-in for applying textures in Illustrator. Select the Background and bring upwards the Texture panel by choosing Window > Astute Graphics > Texture. Click on the panel to activate it. Y'all tin browse textures by category. Cull Polycotton Texture from the Fabrics category and click the big Plus icon in the panel to apply information technology to the background, simulating a T-shirt. Accommodate the calibration, opacity and rotation from the control widget.
Here's the artwork you previously texturized with a mask, on the T-shirt background created with Texturino:
Equally terminal pace. click on the Invert control and yous at present have a dark t-shirt. Adjust the artwork colors to create an entirely new variant for your client.
More Resources To Master Adobe Illustrator
Bring together us May 9–13, 2022 in Washington, D.C. (and online) for CreativePro Week 2022.
CreativePro Week is the essential HOW-TO conference for creative professionals who design, create, or edit in Adobe InDesign, Photoshop, Illustrator, Acrobat, and Microsoft PowerPoint.
Featuring over 40 expert speakers and 100 sessions and tutorials, CreativePro Week offers v days of in-depth training and inspiration, all in one identify. No matter your skill level, you'll learn techniques and best practices you lot tin start using immediately to improve your productivity.
If yous can sign up for only i outcome in 2022, it should be CreativePro Calendar week.
Members become a special discount on registration! Sign up today.
LEARN More AND Register Now
gonzalezfainjusly1948.blogspot.com
Source: https://creativepro.com/how-to-add-texture-to-illustrator-artwork/
0 Response to "How to Edit Shape Texture Again Illustrator"
Post a Comment